Installation
In Order to aquire the Aeroscroll Gallery PRO plugin you need to buy a license from our website www.aeroscroll.com.
Once you've purchased the Aeroscroll Gallery plugin from our website, follow these simple steps to install and activate it on your WordPress website:
Step 1: Download the Plugin
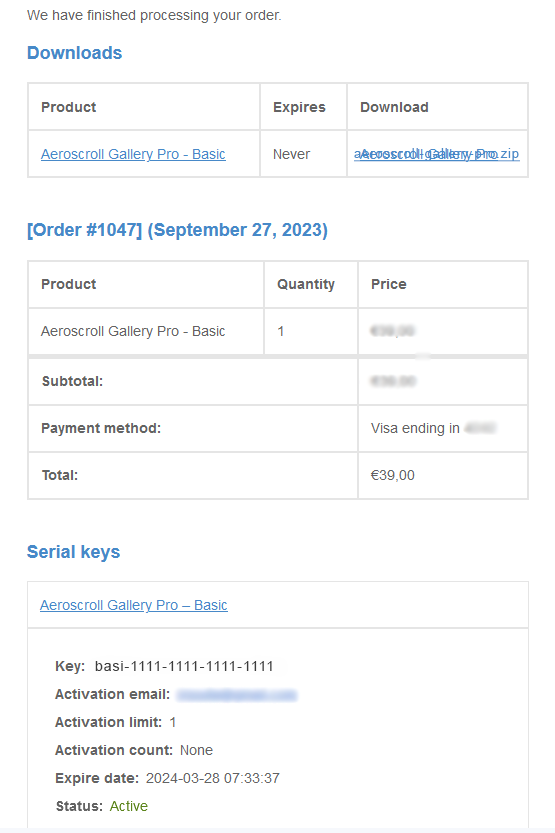
After your purchase, you'll receive a download link for the Aeroscroll Gallery PRO plugin.
Click the aeroscroll-gallery-pro.zip link to download the plugin file to your computer.
Step 2: Log into Your WordPress Admin Dashboard
Go to your WordPress website's admin area.
You can access this by entering your website URL followed by "/wp-admin" (e.g., https://www.yourwebsite.com/wp-admin) in your web browser.
Step 3: Access the Plugin Installation Page
In your WordPress dashboard, navigate to the Plugins section on the left-hand menu and click on Add New.
Step 4: Upload and Install the Plugin
Click the "Upload Plugin" button at the top of the page and then click the "Choose File" button and select the Aeroscroll Gallery plugin file you downloaded in Step 1 from your computer. Once selected, click "Install Now.".
Step 5: Activate the Plugin
WordPress will now upload and install the plugin for you. After the installation is complete, click the Activate Plugin link.
Once activated, you'll see a success message indicating that the Aeroscroll Gallery plugin has been successfully installed.
Step 6: Activating the plugin's License
Finally you have to actiate the plugin's License. You can find out how in the next section