Adding an Image Collection
Adding an Image Collection
Follow these steps to create or edit an existing Image Collection using the Aeroscroll Gallery plugin:
Step 1: Access the Aeroscroll Gallery Menu
- Log in to your WordPress admin dashboard using your website's URL followed by /wp-admin (e.g., https://www.yourwebsite.com/wp-admin).
- In the WordPress admin menu, locate and click on Aeroscroll Gallery.
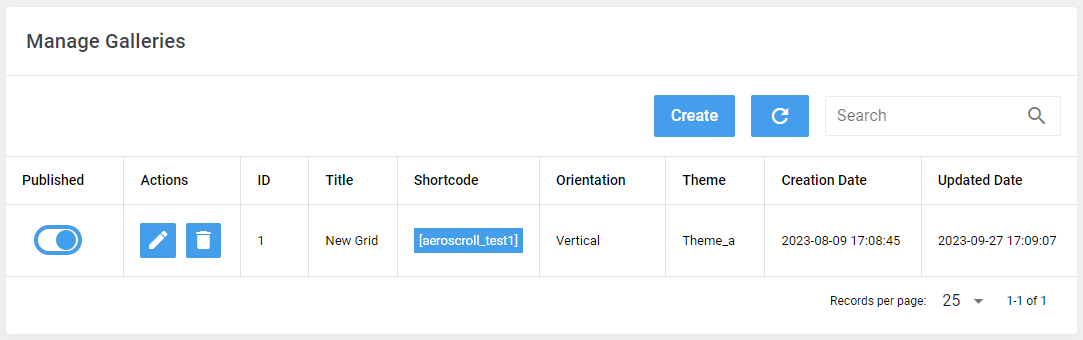
Step 2: Image Collections
From the submenu, click on Image Collections. This will take you to the Image Collections management page where you can create new collections or edit existing ones.
Step 3: Create a New Image Collection or Edit an Existing One
To create a new Image Collection, click the Create button. If you want to edit an existing collection, find the collection in the list and click the Edit icon next to it.
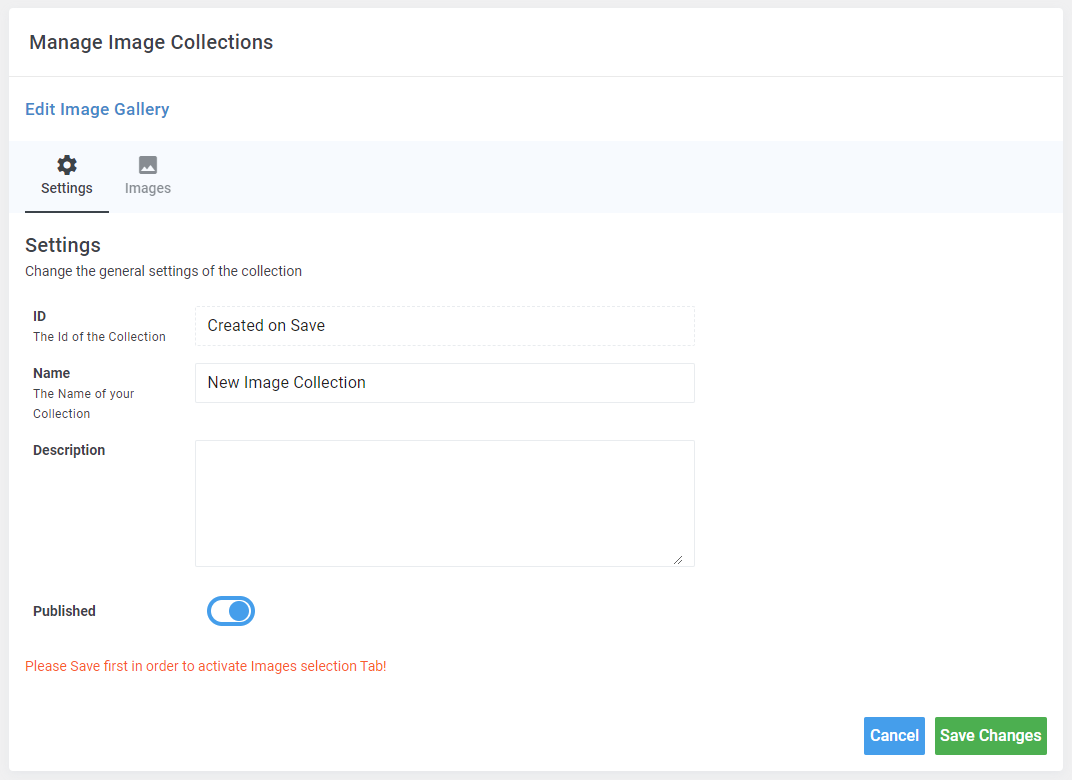
Step 4: Configure Collection Details
In the Image Collection creation or editing page, you can configure the following details in the Settings tab:
Tab Settings
| Parameter | Description |
|---|---|
| Name | Enter a name for your Image Collection |
| Description | Optionally, provide a description for the collection |
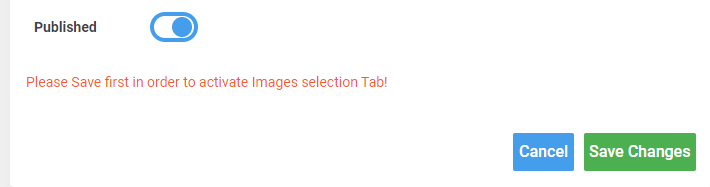
| Published | Toggle the "Published" button to activate or deactivate the collection. Activating it will make the collection accessible on your website |
Step 5: Configure Collection Details
After configuring the collection details, click the "Save Changes" button to save the collection settings.
When Creating an Image Collection
In Order to add new Images to the collection, first you have to Save your changes when you create a collection for the first time and afterwards edit it to add images.
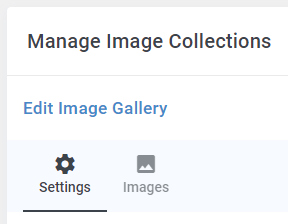
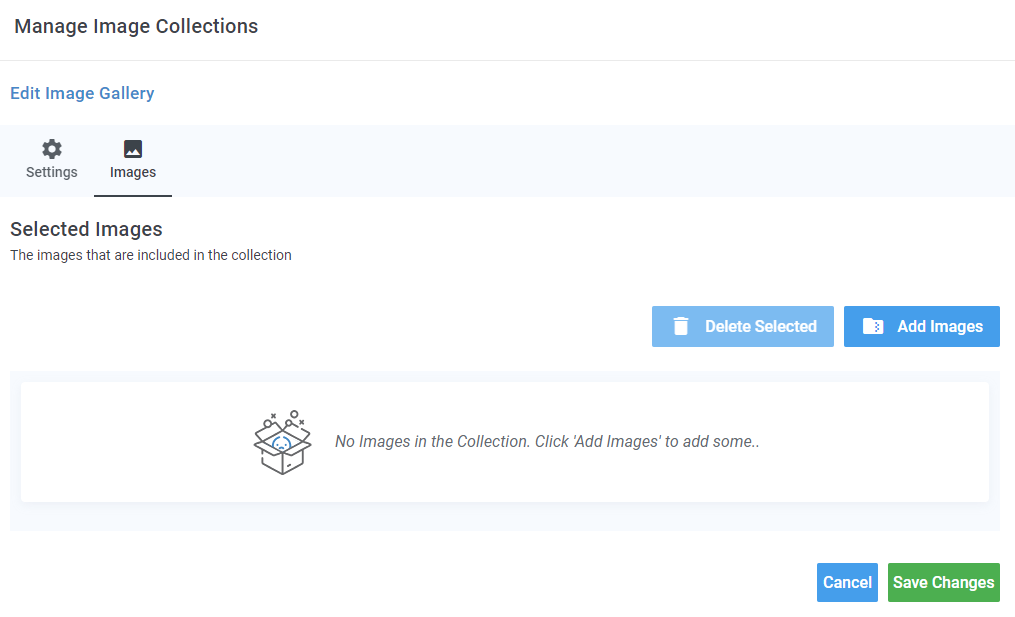
Step 6: Adding Images to the Collection
To add images to the collection, click the edit Icon on the collection you've just created. Therafter in the collection editing page, navigate to the Images tab and click on the button Add Images.
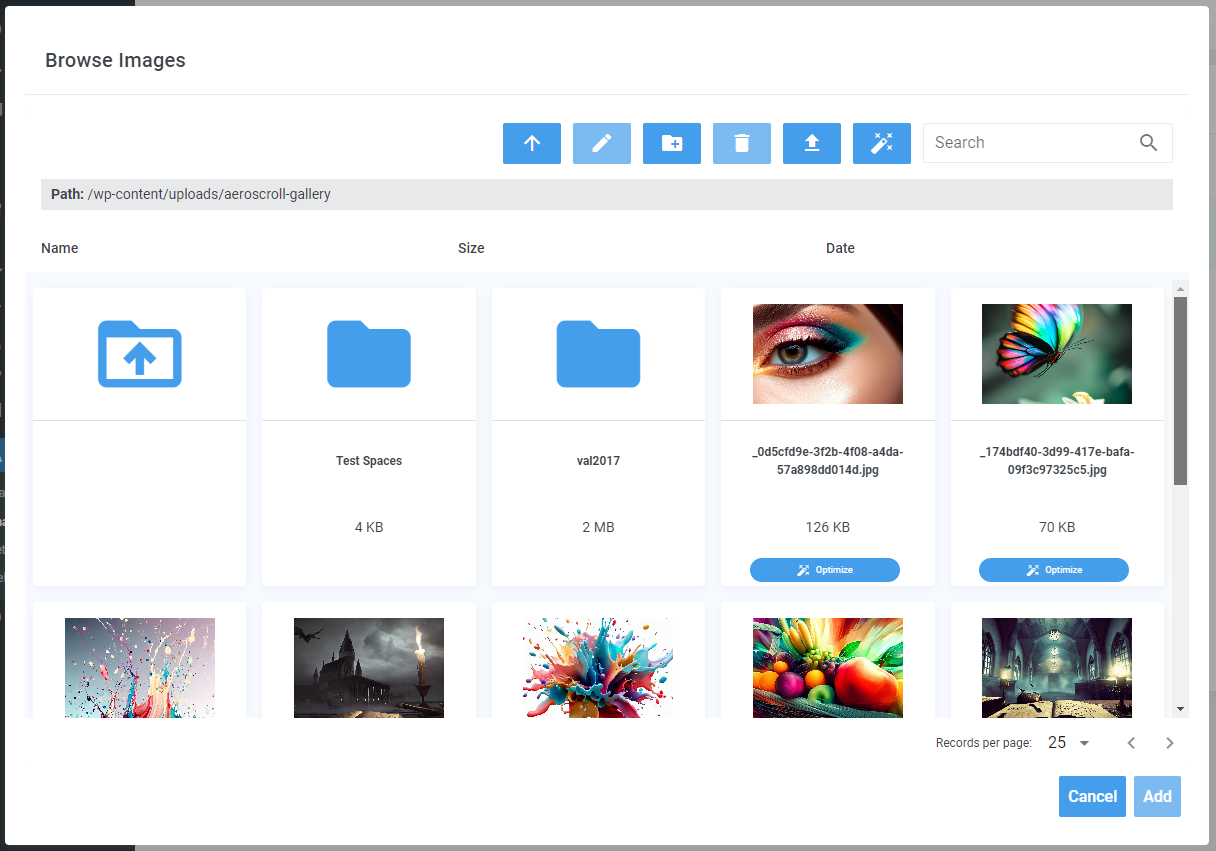
Step 7: File Manager
Folowing our previous action, a popup up appears with the integrated File Manager in order to manage, upload or select our images.
Step 8: Selecting Files
To Select your favorite images for your collection, inside the File Manager do the following:

- Start by navigating to the specific folder where your images are stored. Simply click on the folder to access its contents
- To choose individual images, a simple click will suffice. For multiple selections, hold down the Ctrl key (or Command key on Mac) while clicking on each image you want. Alternatively, hold down the Shift key to select a continuous range of images.
- Once you've selected the images you want, click on the Add button. This action adds your chosen images to your gallery collection.
- To finalize your gallery, head to the "Image Collection" editing screen and click Save. Your selected images are now part of your curated gallery, ready to captivate your audience.
This user-friendly process ensures that you have complete control over the images you include in your gallery, enabling you to craft visually stunning and engaging presentations effortlessly.
The File Manager
The Aeroscroll Gallery File Manager is your all-in-one solution for effortless image management. Seamlessly integrated into the plugin, it empowers you to curate and organize your images with ease.
With powerful navigation, file renaming, folder creation, and file deletion tools, you can maintain impeccable order within your image library. Upload new images effortlessly to expand your visual repertoire.
But that's not all – the File Manager goes the extra mile by offering an invaluable image optimization feature. This tool reduces image file sizes, enhancing your gallery's performance while ensuring your audience experiences fast loading times.
Discover the convenience and efficiency of the Aeroscroll Gallery File Manager – the tool that simplifies image organization and optimization, allowing you to create stunning galleries that captivate your audience.
File Manager: How to Upload images
In order to upload your images to your website through the Aeroscroll File Manager, you can do the following:
- Access the File Manager by clicking on the button Add Images
- Select the folder where you want to upload your images
- Then by clicking on the Upload icon within the File Manager the the image upload process initializes.

- A New popup window, titled "Upload Your Files," will gracefully appear. This is your gateway to seamlessly adding new images to your collection.
- In the upper-right corner of the popup, you'll find a button adorned with a "+" plus sign. Clicking this button allows you to choose multiple photos at once, streamlining your workflow.
- As your selected images make their way to your gallery, a progress indicator will keep you informed. You can watch as the percentage of the uploading process unfolds.
- Upon completion of the upload, your freshly added images will gracefully appear in the folder you designated.
File Manager: How to Optimize your images
Achieving optimal image performance for your images is a breeze with the Aeroscroll Gallery File Manager.
Here's how you can effortlessly optimize your images:
- Access the File Manager by clicking on the button Add Images
Optimize Individual Images:
For precise optimization, select an image in your collection
Locate and click on the Optimize button associated with the chosen image
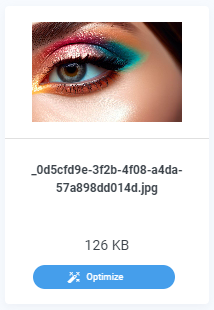
The Optimize Button After optimization, a green tag indicator labeled Optimized will elegantly appear at the bottom of the image, signifying that it's now optimized for peak efficiency
Optimize All Images in a Folder
- To optimize an entire folder of images in one go, click on the Optimize All in Folder button

The Optimize All in Folder Button - This button, often represented by a wizard wand icon and found in the upper-right corner, is your shortcut to optimizing all images within the current folder
- As each image gets optimized, the green tag indicator labeled Optimized will grace the bottom of each one, indicating their enhanced performance
With these user-friendly optimization options, you can ensure that your images load quickly and efficiently, providing your audience with a seamless and visually pleasing experience. The File Manager in Aeroscroll Gallery simplifies the task of optimizing images, allowing you to focus on creating exceptional galleries.